|
Content Objectives:
Students Will: 1. Distinguish between a watercolor wash and opaque painting 2. Modify a butterfly design and incorporate their own style to create a well balanced composition. 3. Learn to use watercolors in creating a watercolor wash through teacher guided instruction 4. Have the ability to use mixed media when creating their design |
Language Objectives:
Students will: 1. Listen to and watch as teacher demonstrates the technique of painting a watercolor wash. 2. Clearly articulate the art of creating different values of the hues by using the proper vocabulary. 3. Comprehend and make a connection between watercolor wash and tempera 4. Students will summarize their piece by writing about their art, using the proper vocabulary. |
Vocabulary:
Watercolor Wash: A watercolor term for a flat layer of very diluted color laid across the paper. It can either be an even layer of colour or a graded layer which gets lighter.
Texture: is used to describe either the way a three-dimensional work actually feels when touched, or the visual "feel" of a two-dimensional work. Mixed Media: A mixed media painting is one which combines different painting and drawing materials Balance: balance refers to the ways in which the elements (lines, shapes, colors, textures, etc.) of a piece are arranged. Pattern: pattern means the repetition of an element (or elements) in a work. |
Materials:
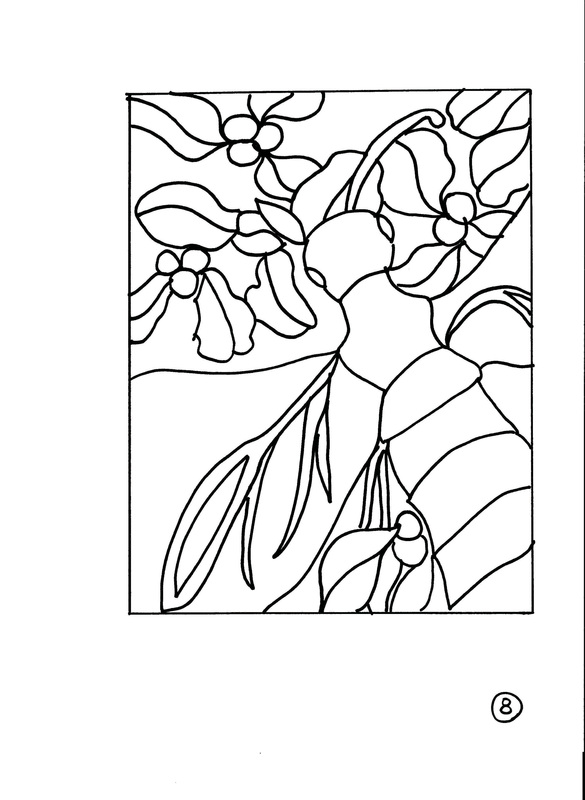
9x12" White Drawing Paper Pencil Watercolor Paint Water Brush Pallet Newspaper to cover the table Sharpie fine point marker(black) Handoust: Outlines of Butterflies Color version to use as reference Examples of completed projects |
|
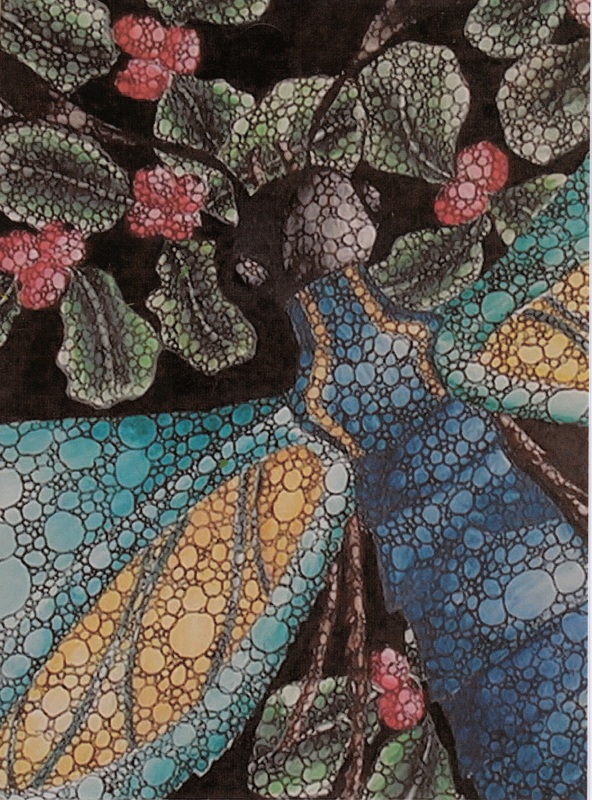
Color Image Handout
|
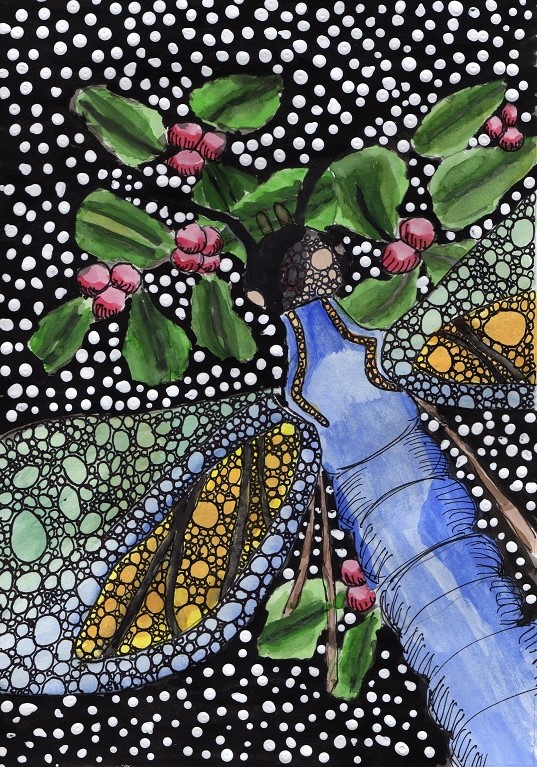
Student Art Work
|
Students will:
1. Border paper and center the butterfly design. Use the tracing light to speed the process
2. When ready for paint, prepare table with newspaper. Get pallet, water, brush and paint and set on table.
3. Paint their design by creating values in each section of the butterfly. Avoid black paint as it will be needed for the background.
4. The background, once painted black, will have white dots added with liquid white tempera and the eraser of a pencil, or upside down paint brush. Dot the entire background.
5. Upon completion, a black sharpie will be added around all the butterfly lines. At this point circles of different sizes will be added into the butterfly wings, and body.
6. Cut painting when done and mount on colored construction paper.
7. Place name, grade and block on paper and place in grade box
